This walk was organised by me and led by Chris L and John E as a CBC walk:
(Saturday 27 October - Bendora-Camels Hump Crossover - L/R,X. One party will walk from the Mt Franklin Road via Bendora Break to the Cotter River, then down Burkes Creek Road to a convenient spur to climb 750m to Camels Hump. The Camel Back fire trail will lead to the other car. The other party will enjoy the reverse, including a 1000m total climb up to Camels Hump and up the Bendora Break. Around 20km and 750m/1000m total climb. Strenuous walking for a fit and experienced party. Map: Tidbinbilla 1:25000. Limit of 8 in each party. Leaders: Chris L and John E – jevans@pcug.org.au, (h) 6288 7235. Transport: ~$10. Further details at members.pcug.org.au/~jevans.).
Organised with military precision, 4 of us ended up going through the Tidbinbilla Nature Reserve gates at 7.30am (thank you, Rangers, for allowing early access) and parking at the bottom of the new picnic area. The other 4 drove via the Bendora Dam Road to Top Flats. Thankfully, each driver was heading towards his own car with his own keys, so it didn't matter if we didn't meet. The only bit I forgot was that a walker I picked up on the way wanted to leave an apres-walk bag in the car which, about then, was near Picadilly Circus
The Bendora Dam Road has now been reopened, so we'll drive in/out rather than walk down/up the Bendora Break. So a little less distance and climb than advertised above - now 13.5km and 800m/500m climb.
Mountain Creek Rd at the back of TNR is still closed due to a timber harvester working in the area. So for the E approach we'll park at the revamped picnic area, wander across Block 60 and up the fire trail on Spur One to link with the Camel Back fire trail. An extra 1km.
Walk ![]()
There was much discussion in our E-W party as to who had the better direction. However, as we skipped across the Tidbinbilla River and swanned along the fire trails in the recovering Block 60 pine forest area, we thought of our other party nearing the beginning of their climb up the spur. By about half way across the burnt out, but nicely recovering, area I thought I knew where I was in the myriad of trails. And on spying the Phantom Skull Cave (a huge boulder) in the gully near the gate on the fire trail as it begins to climb up Spur One, I was sure. A little more up and some twists and turns brought us to the intersection with Camel Back fire trail. We left a huge bark arrow on the road, pointing down the trail we'd come up - forgot to ask whether Chris appreciated it, or was highly incensed. A further 2.5km took us up to the base of Camels Hump. A regroup, photo, swig of water and we started up, the view unfolding as we climbed higher (7.1km and 2hr 10mins to Camels Hump cairn).
The view from Camels Hump (and from many areas down the spur we followed) is magnificent. To the S and W you see the Tidbinbilla skyline (Johns Peak, Tidbinbilla Peak, Tidbinbilla Mountain). Huge, bare, cliffs and rivers of scree cover the N faces of the spurs which extend W from them. The Pimple stands out ... well, like a pimple. The N arm of Burkes Creek lies far below and eventually joins, to the W, the Cotter River which flows through wild, twisting gorges. Above the slash of the river valley, to the W, are the blue-grey rolling tops of the Brindabella range. In contrast, to the E, lies the open grazing land of the Paddys River valley, the less severe Bullen Range and, in the hazy distance, familiar Canberra suburbs. It is indeed a gob-smacking view.
The route card I'd made said 'Leave CH on 303°M, follow spur slight curve to L 1.1km to SH1269'. Good insurance, but there was really only one way to go on this narrow - in places razor - spur. A belt of tight and thick regrowth made us think of what our mates would have to climb through and, for us, the unstable scree and stone blocks under the vegetation required concentration. The huge view to the S travelled with us (see pic 1) and, when we turned round, views back up the way we'd come (see pic 2). Navigation marks continued to be obvious and when I thought we'd arrived at SH1269 and checked the GPS, it said "good boy John, 8m!".
400m further on and 80m down we met the uphill party. We exchanged pleasantries and second car keys but, as it was only 11am, it was too early for lunch.
Some further wiggles, plenty of down and a little saddle and up, alternating regrowth and more open, rocky patches saw us on the sausage ridge area containing SH1085. 2km from Camels Hump and 360m down to here in 1hr 40mins.
The plummet down continued with glimpses of the Burkes Creek Road and, someway up the other side of the Cotter River, the Bendora Dam Road. At midday we decided to stop for brunch on the side of the hill.
Away again and I missed a spur division at the top of a gully. But it was just a matter of following the crest down, the vegetation a little open and some nice Grass Trees. Creek junctions at the bottom with thick, rigid, dead teatree carefully designed to spear into one's leg. At last to the Cotter River, 60m shy of the ford as I'd missed the spur I'd intended to use.
15mins for a bite to eat, a wash and to watch the fish. A storm threatening, so we headed SW along Burkes Creek Road (another 2 fords).
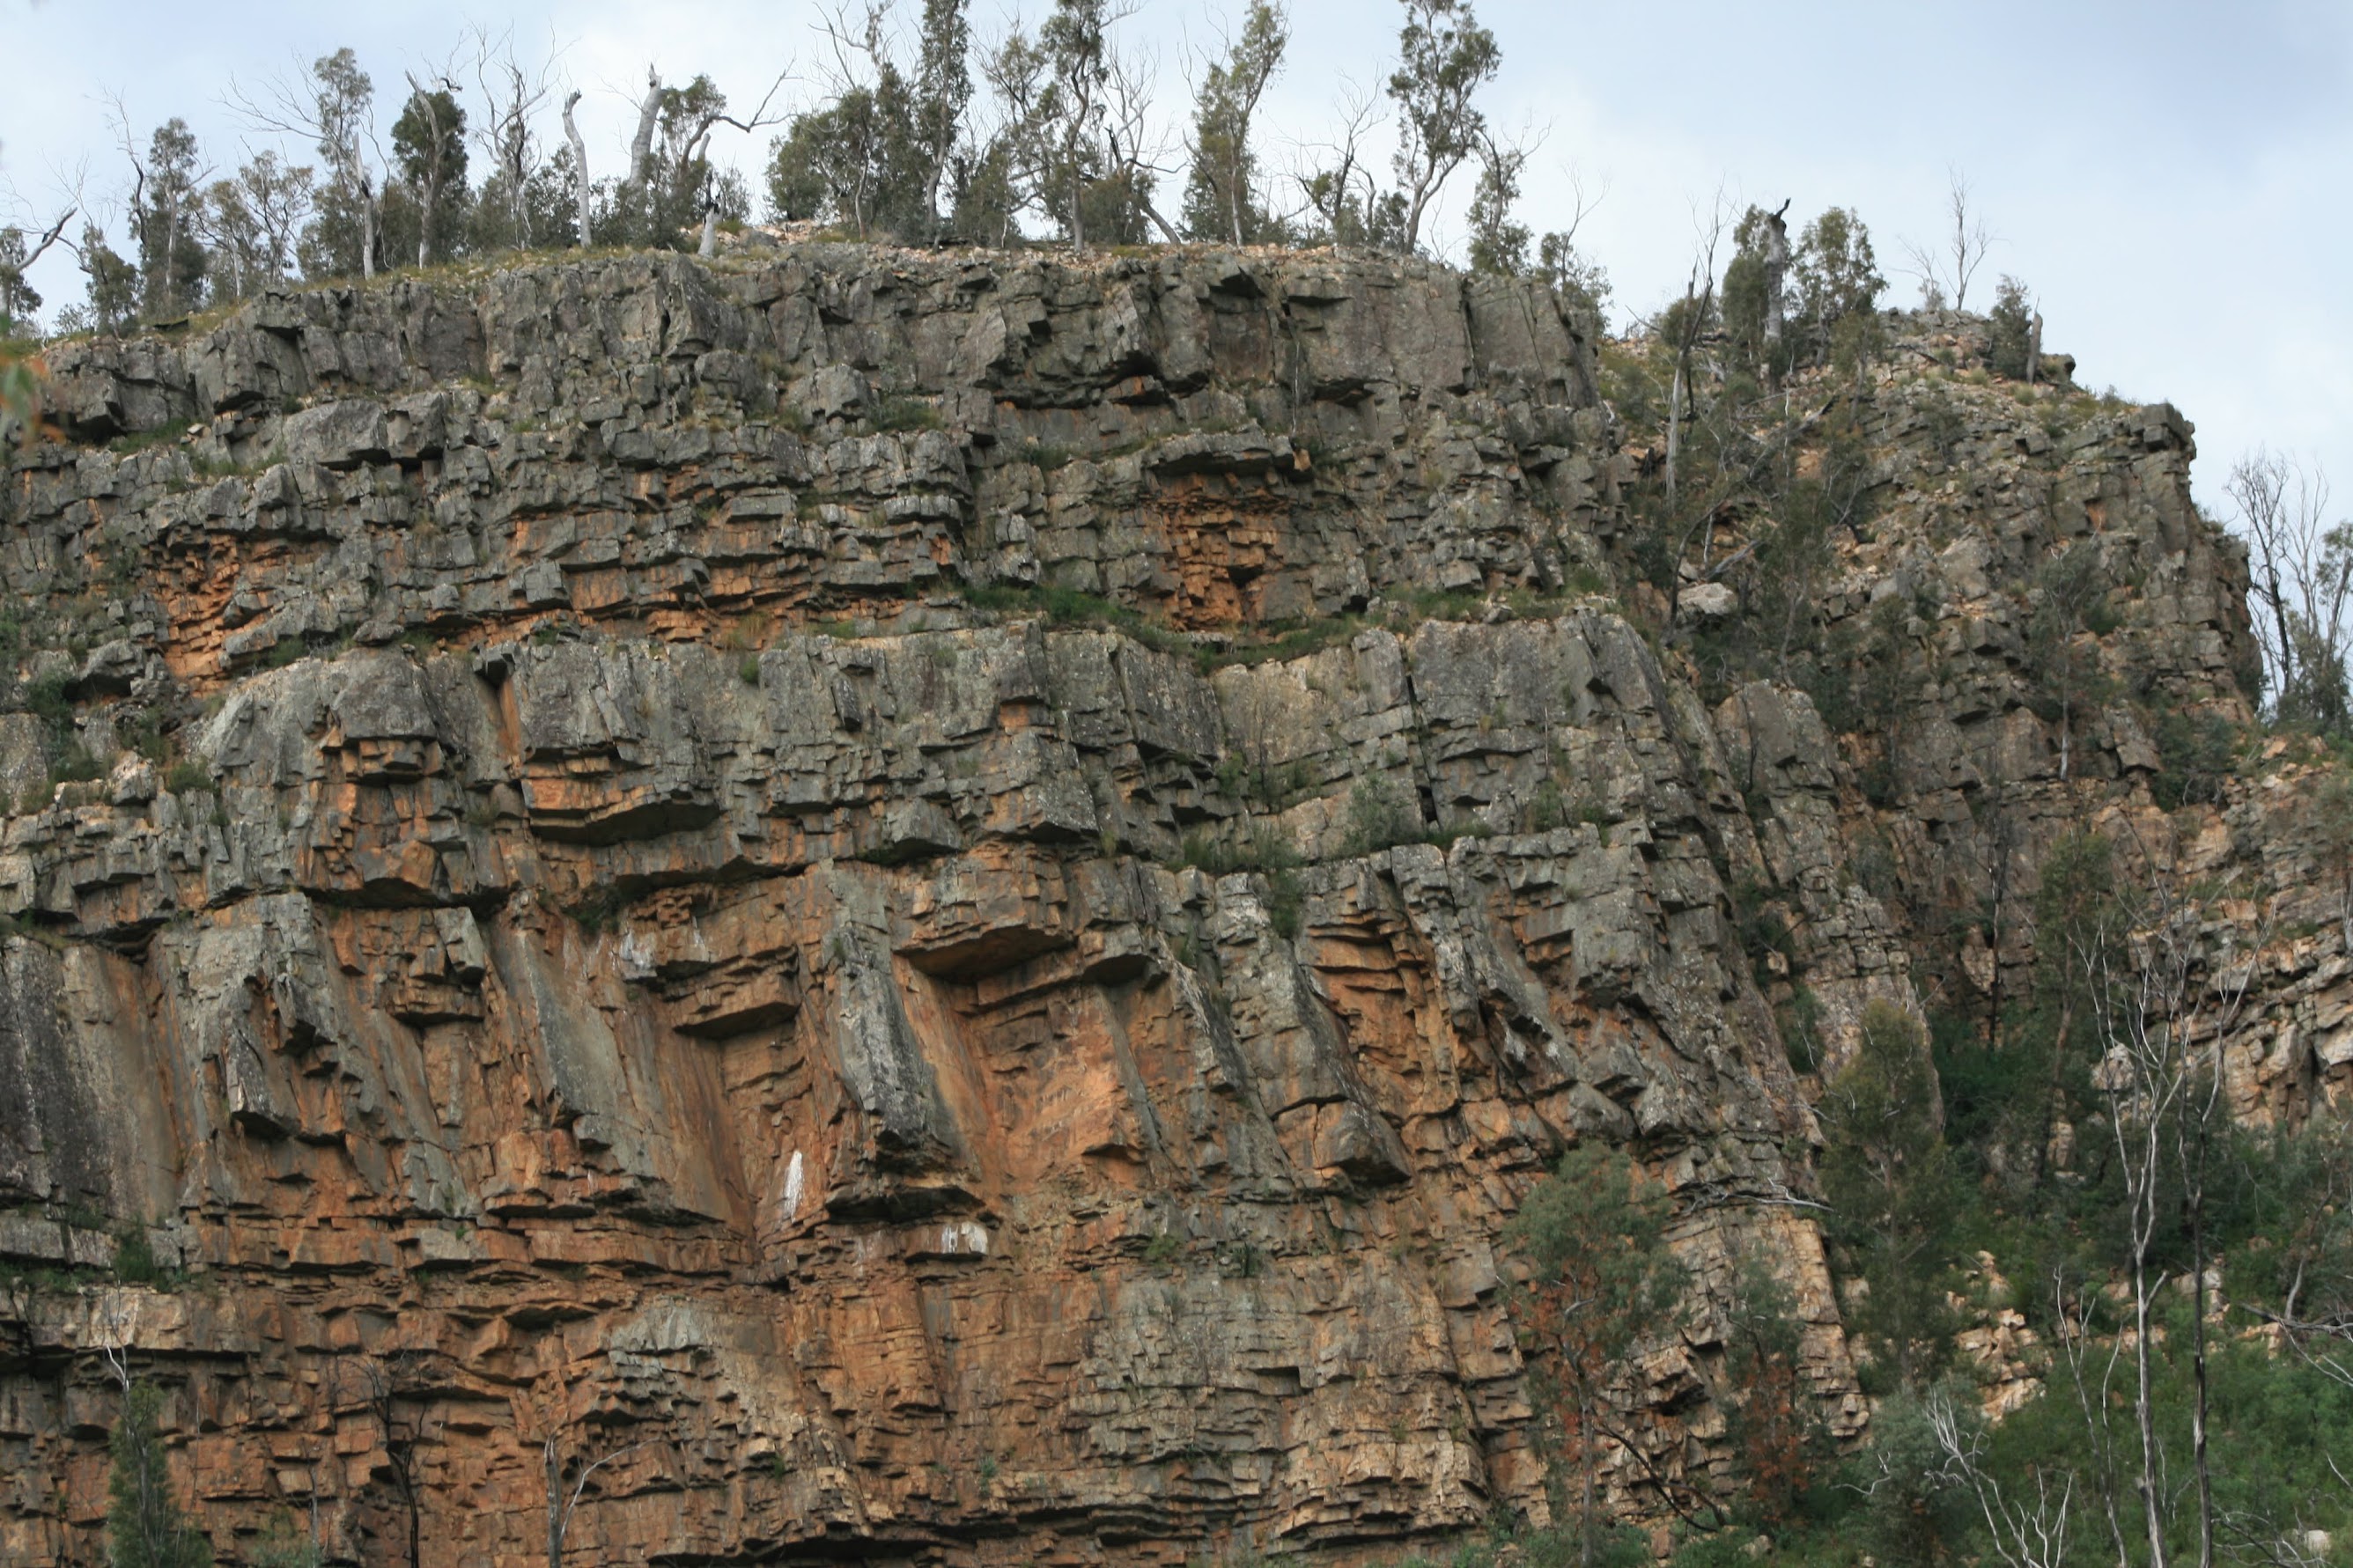
Just after the last ford and at the U-turn to where it joins the Bendora Dam Road, we spied the face in the cliff. I'd seen a pic in the Canberra Times several months ago and was keen to find it. Fabulous (see pic 3).
Another 1km along DB Rd, past the white buttress, and there was the car.
Lots of fire trail, but provides quick and easy access to spectacular country and scenery. It's certainly time for the fly net and insect repellent to become a permanent part of the walking kit.
Thanks to Chris L (the leader of the tuff team) with Mark B, Max S and Brian S. Thanks to Mike B, David L and Dick M with me (the slack one).
Distance: 14.7km Climb: 850m. Time: 7.40am - 1.50pm (call it 7.25hrs) W-E (easier direction), with 40mins of stops.
Grading: L/R,X; H(12)
KMZ file for Google Earth/Maps: Bendora-Camels Hump Crossover